Quick start guide
This guide takes you from a blank TV to a screen playing your own content. Most people finish in about 15 minutes.
Start here after onboarding. The first time you sign in, Chip’s setup creates your store, your brand, the displays you named, and a starter Page on your first display. Your first sign-in walks through it. This guide picks up from there.
How BrandCast fits together
Section titled “How BrandCast fits together”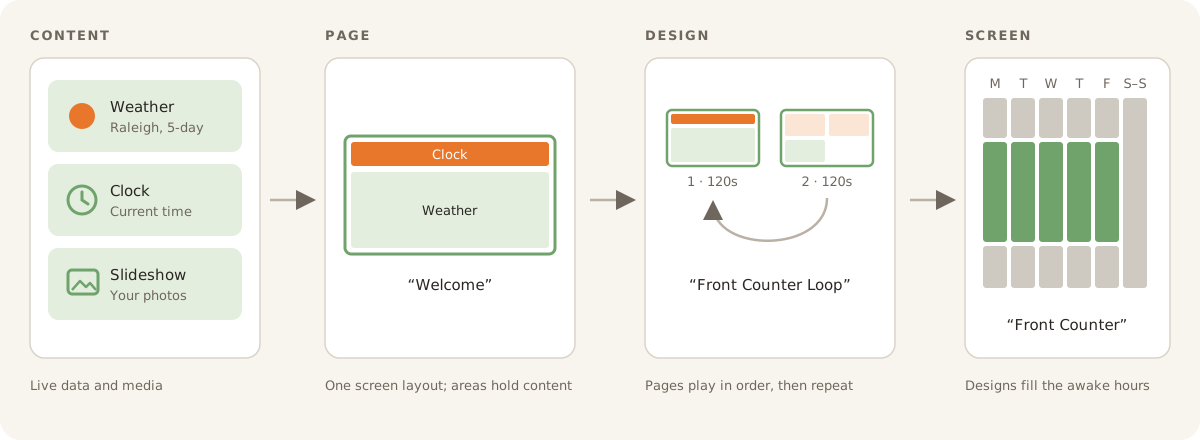
- Content is live data and media: the weather, a clock, a slideshow, your calendar, a news feed.
- A Page is one screen’s layout. Each area on a Page holds an image, some text, or a piece of content. Pages live under Pages in the sidebar, and one Page can be used in any number of Designs.
- A Design is a set of Pages that plays in order and then repeats. Each Page stays on screen for its own duration, two minutes by default.
- A screen is a physical TV, listed under Zones. Its week calendar decides which Design plays when. Outside its awake hours the screen sleeps.
Step 1: Connect your screen
Section titled “Step 1: Connect your screen”-
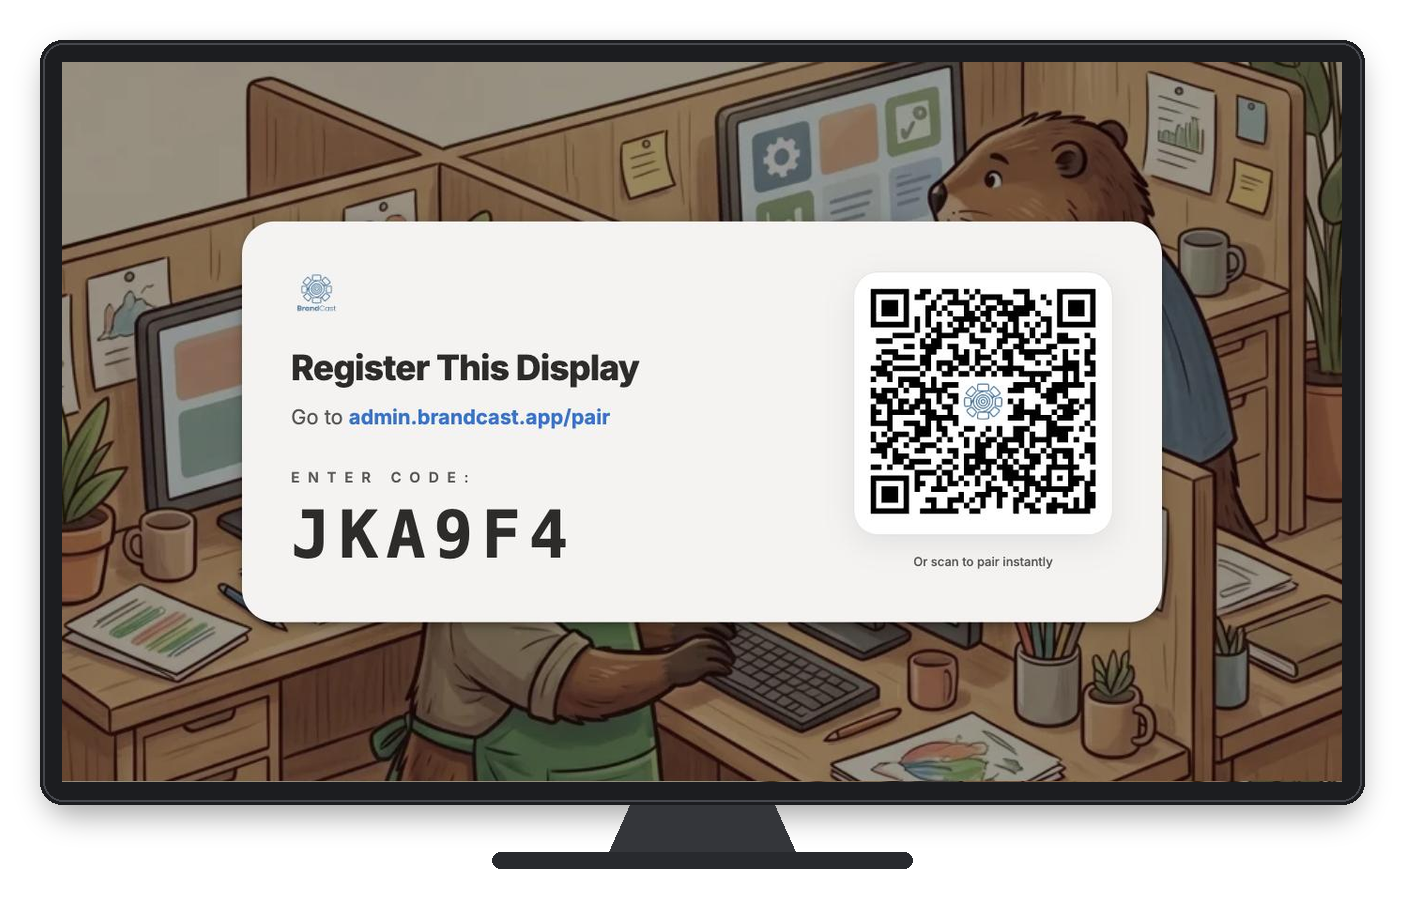
On the TV, open the web browser and go to displays.brandcast.app. The screen shows a six-character code.
-
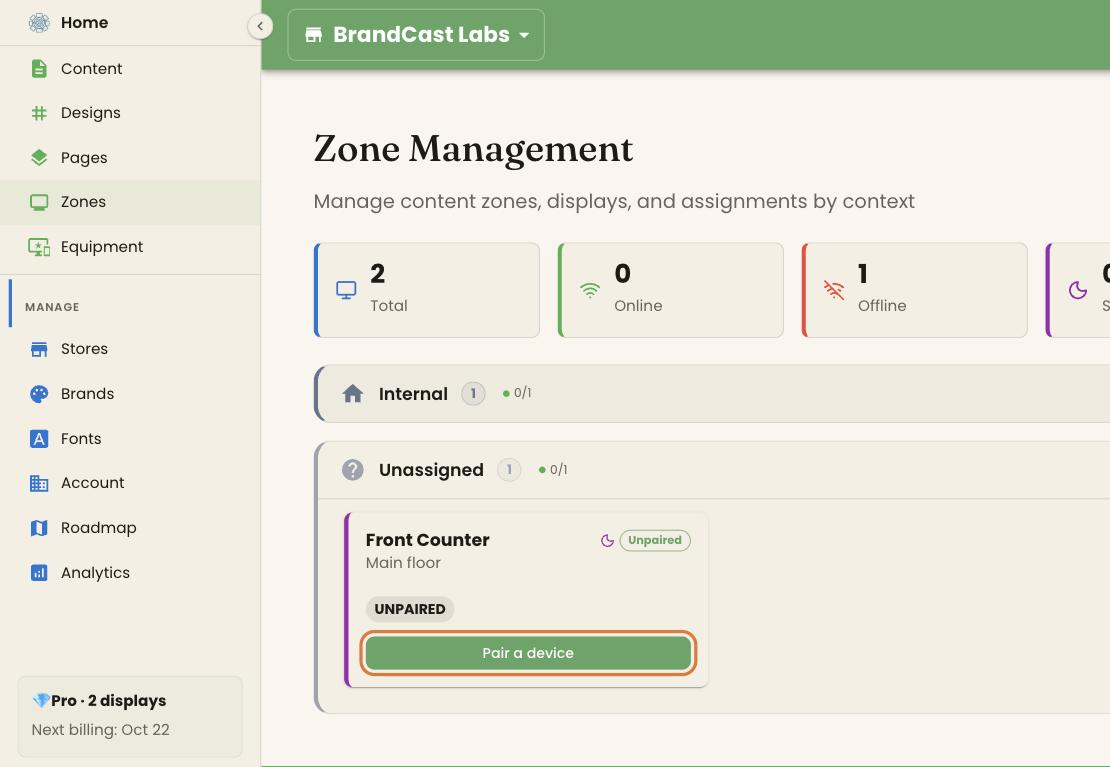
In BrandCast, click Zones in the sidebar. The displays you named during onboarding are listed as Unpaired. Click Pair a device on the one this TV belongs to.
Need a display that isn’t listed? Click Add Display, enter a Zone Name and Zone Location, and click Create Display.
-
Type the code from the TV into Pairing Code and click Connect Device.
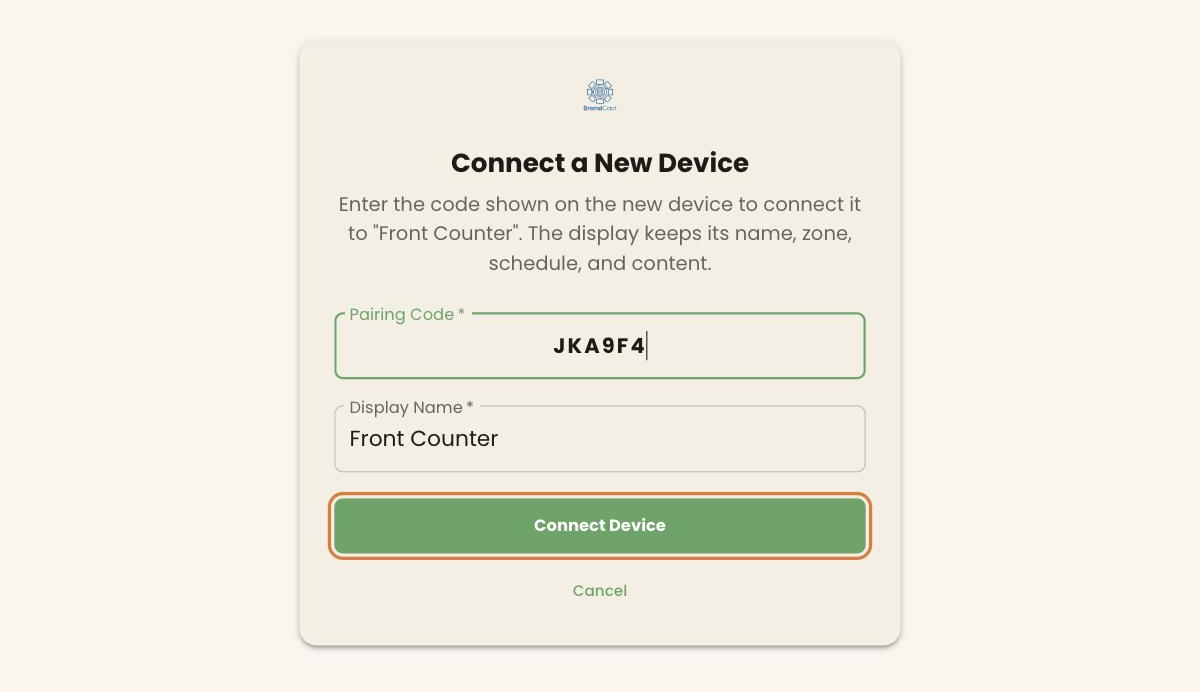
Within a few seconds the TV leaves the pairing screen and the display’s card shows Online. If this is your first display, it starts playing the starter Page from onboarding.
Tip: Most smart TVs have a web browser under “Internet,” “Browser,” or “Apps.” If the code has changed by the time you type it, use the one the TV shows now. Setting up your screen covers keeping the TV awake and full screen, and the BrandCast Player.
Step 2: Build a Page
Section titled “Step 2: Build a Page”-
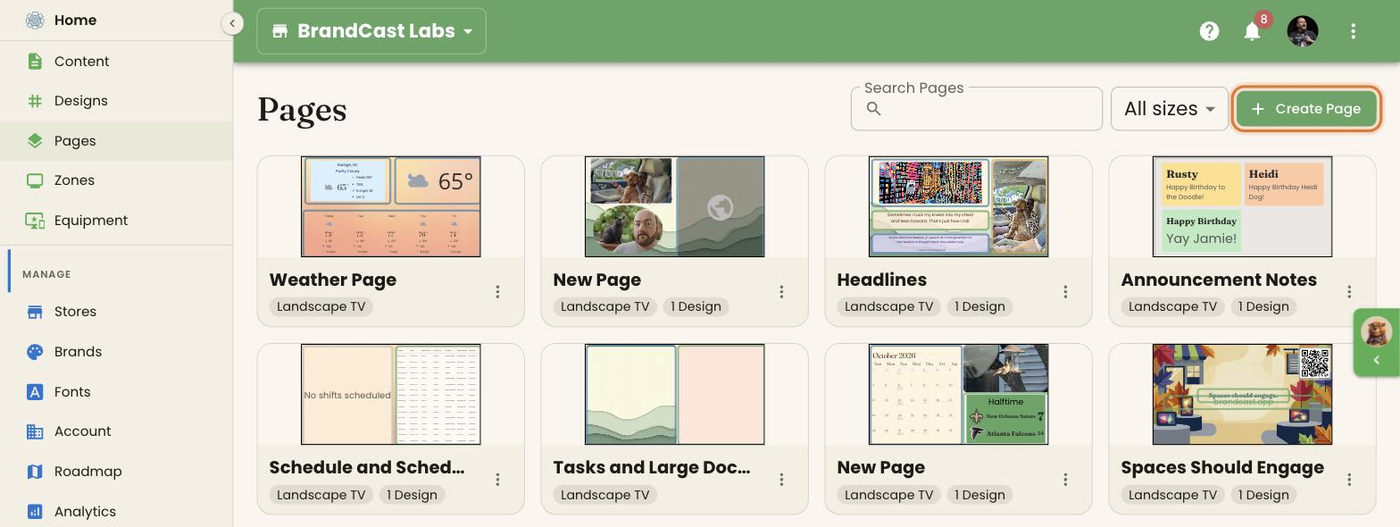
Click Pages in the sidebar. Open the starter Page to edit it, or click Create Page to start a new one.
-
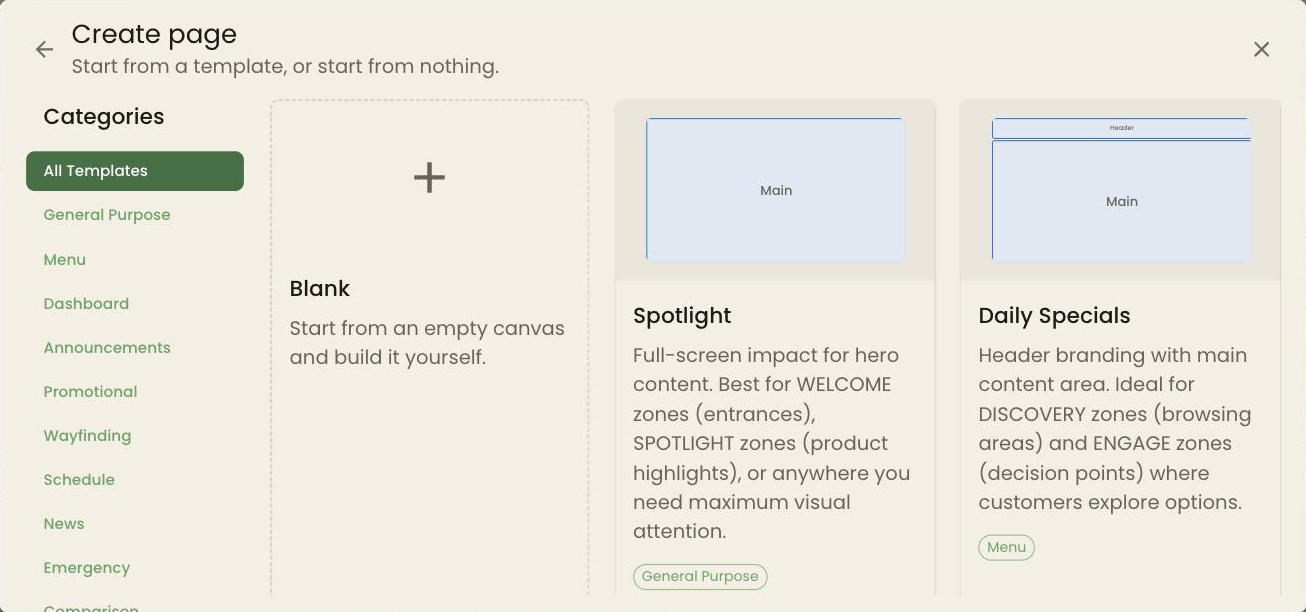
For a new Page, choose the screen size that matches how the TV is mounted (Landscape TV for most wall-mounted TVs), then choose a template or Blank.
-
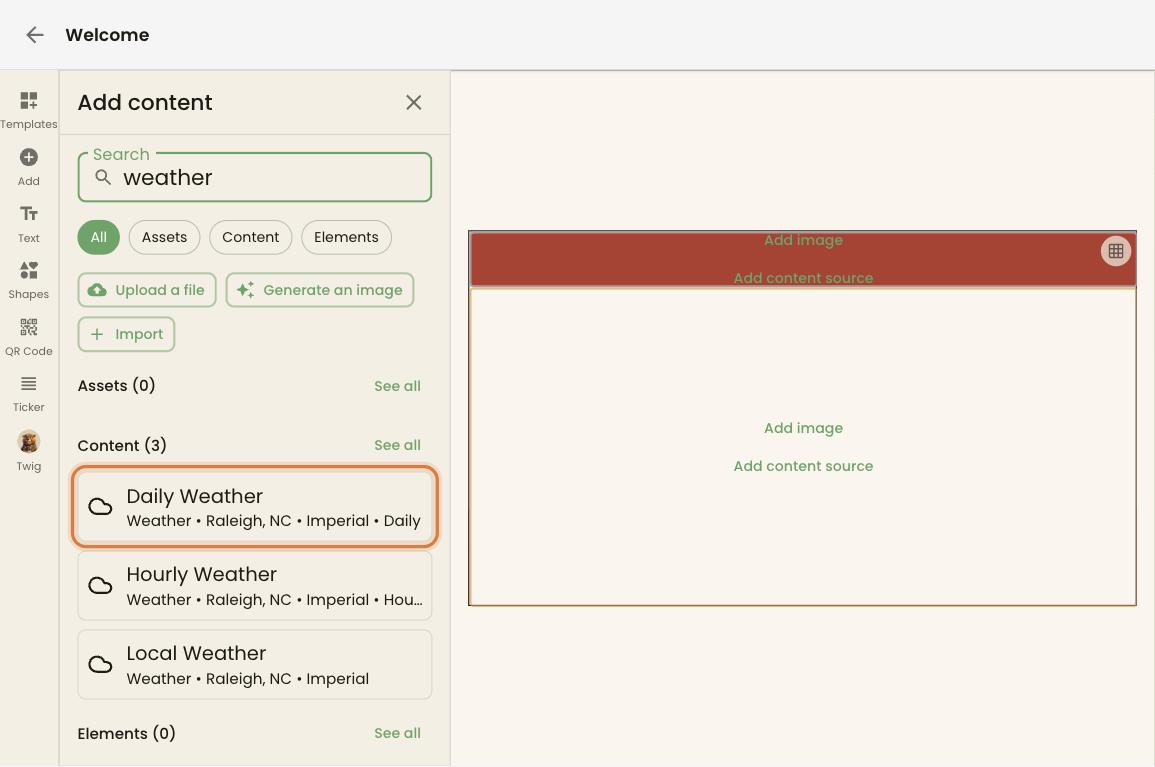
Click Add content source in an area. The Add content panel opens. Search for what you want and click it to place it in that area. Anything marked Set up needs connecting first; click it and the panel walks you through it.
-
Give the Page a name in Page name and click Save.
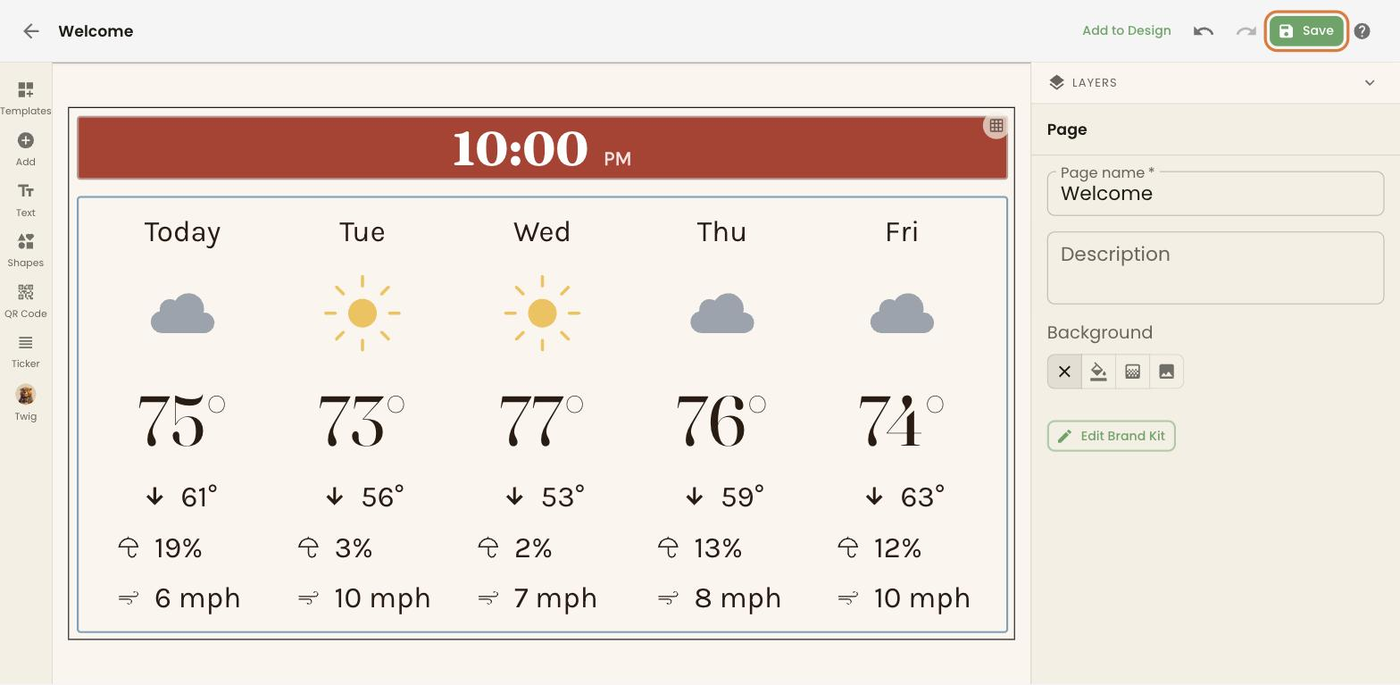
One Page, many Designs. A Page can sit in several Designs at once, and an edit to the Page shows up in all of them. Each card under Pages shows how many Designs use it.
Step 3: Combine Pages into a Design
Section titled “Step 3: Combine Pages into a Design”-
Click Designs in the sidebar, then Blank design. (From a template starts from a ready-made Design, and Generate with Twig has Twig draft one from your description.)
-
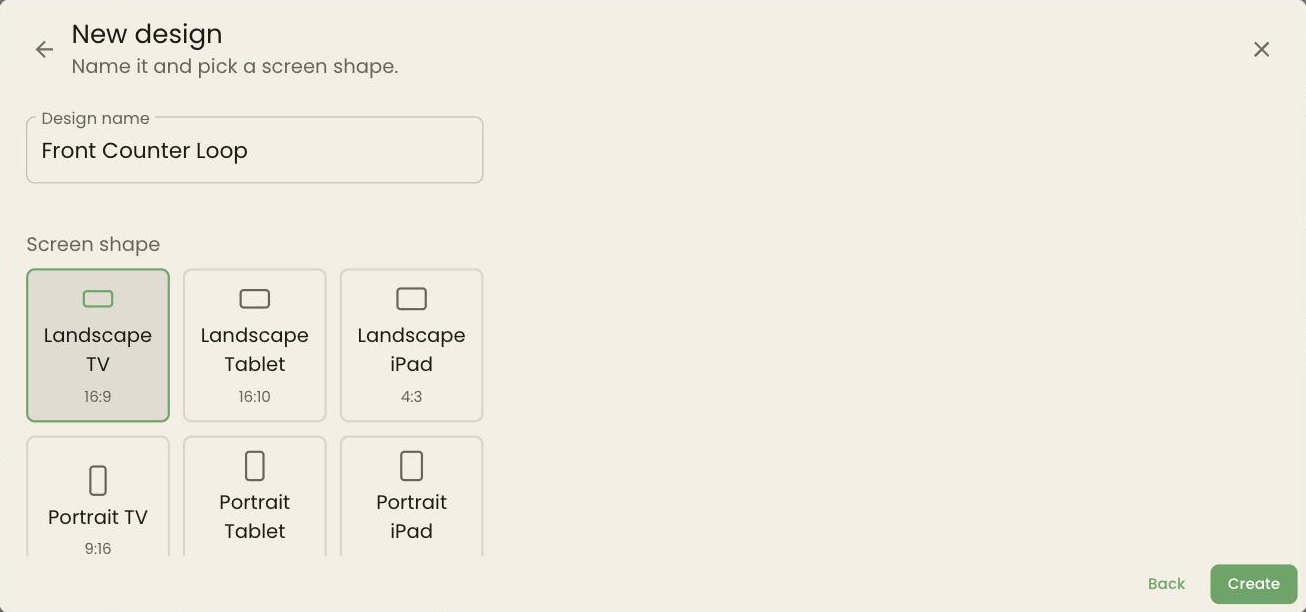
Name the Design, choose a Screen shape, and click Create. The shape can’t be changed after the Design is created, so match it to the TV.
-
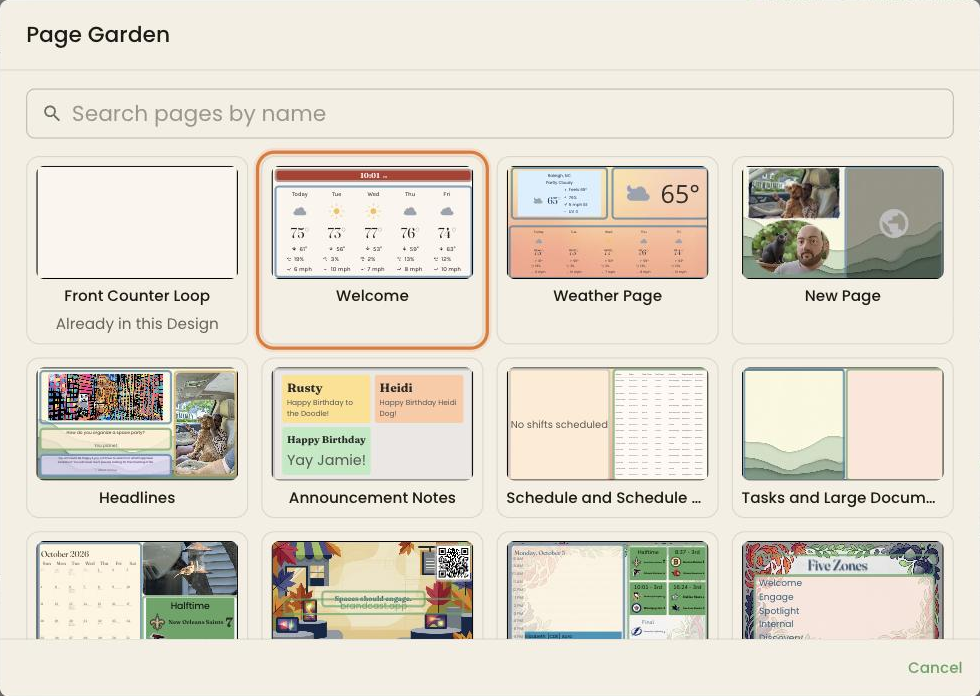
In the page strip along the bottom of the editor, click Add, choose Browse, and pick your Page in the Page Garden. Repeat for each Page you want in the loop.
-
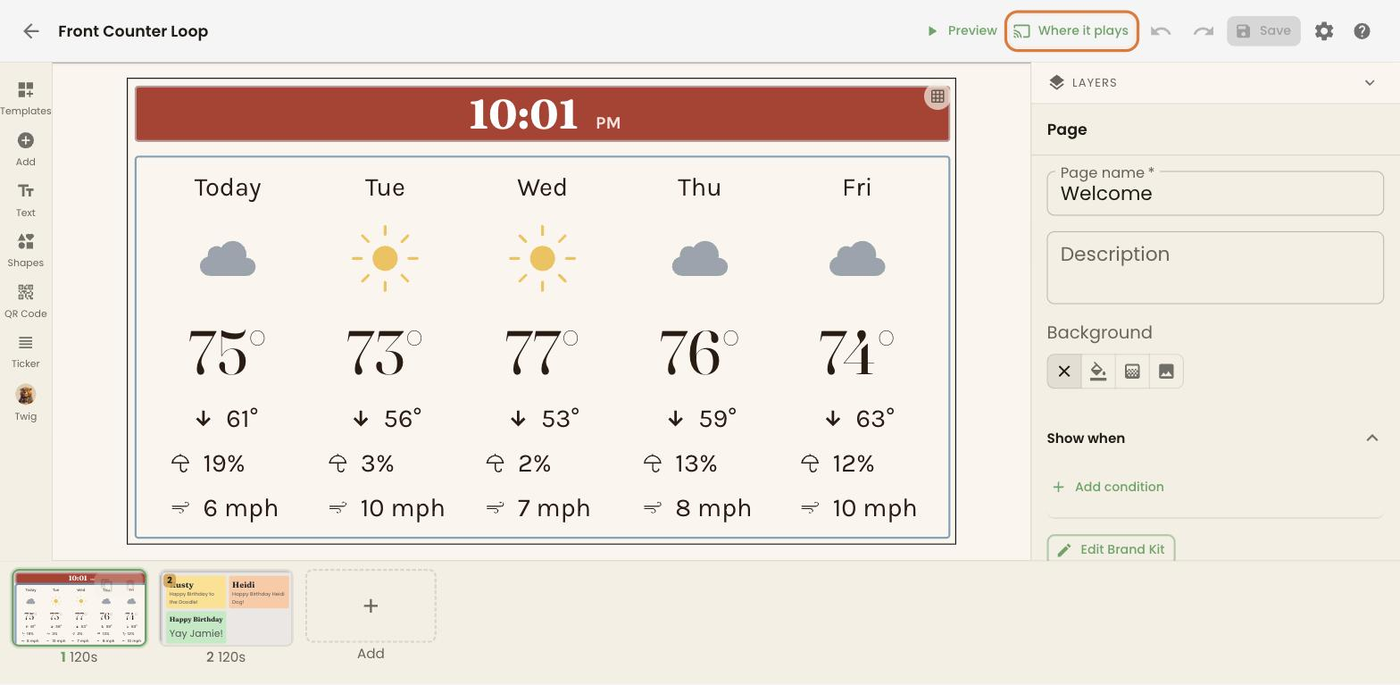
A blank Design starts with one empty Page. Fill it in, or delete it with the trash icon on its thumbnail. Pages play left to right, each for the time shown under its thumbnail.
Step 4: Schedule it
Section titled “Step 4: Schedule it”You can schedule a Design from the Design itself or from the screen.
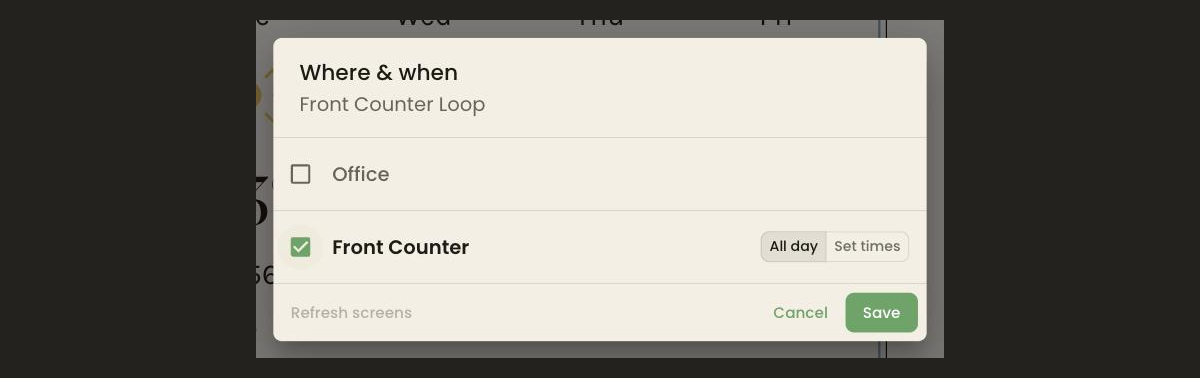
From the Design: click Where it plays at the top of the editor, tick the screen, keep All day (or choose Set times), and click Save.
From the screen: click Zones, then click the display to open it. In the Screen card’s week calendar, drag down a day to draw a time window, then pick the Design from the list that appears. Drag a block to move it, drag its edges to resize it, and click its × to remove it.
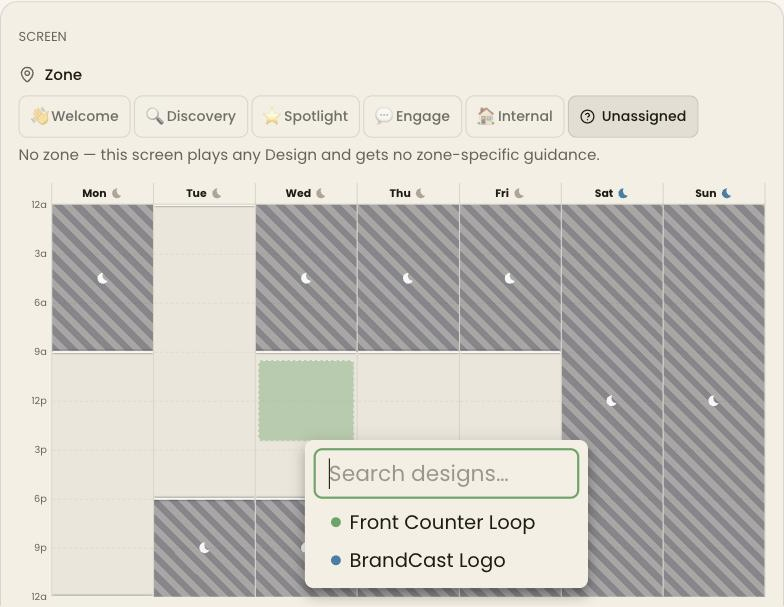
The striped hours on the calendar are night mode: the screen is dark and nothing plays. Drag the line between the striped and clear hours to change when the screen wakes and sleeps.
The screen picks up the change within a minute. To push it straight away, click Refresh content in the Screen card.
If something’s not right
Section titled “If something’s not right”The TV still shows a code. Check the code against the one on the TV right now and enter it again on the pairing form.
The TV is dark and says “Night Mode Engaged.” The screen is outside its awake hours. Change them on the display’s week calendar in Zones.
The screen didn’t change. Click Refresh content in the display’s Screen card, and check that the Design is scheduled for the current time.
Add Display asks you to upgrade. The Free plan includes one display. Upgrade from that prompt to add more.
What’s next
Section titled “What’s next”- Your first content: weather, clocks, slideshows, calendars and news
- Scheduling content: different Designs for different times of day
- Setting up your screen: choosing hardware and keeping the screen running all day
Need a hand? Open Twig from the tab on the right edge of the screen (bottom right on a phone), or click Ask Twig in any help article.