
Your account settings
Chip’s setup creates your store, brand, and displays. Everything else about your account lives in Account Settings, and this article shows where.
Open Account Settings
Section titled “Open Account Settings”Click your picture or initials at the top right, or click Account in the sidebar.
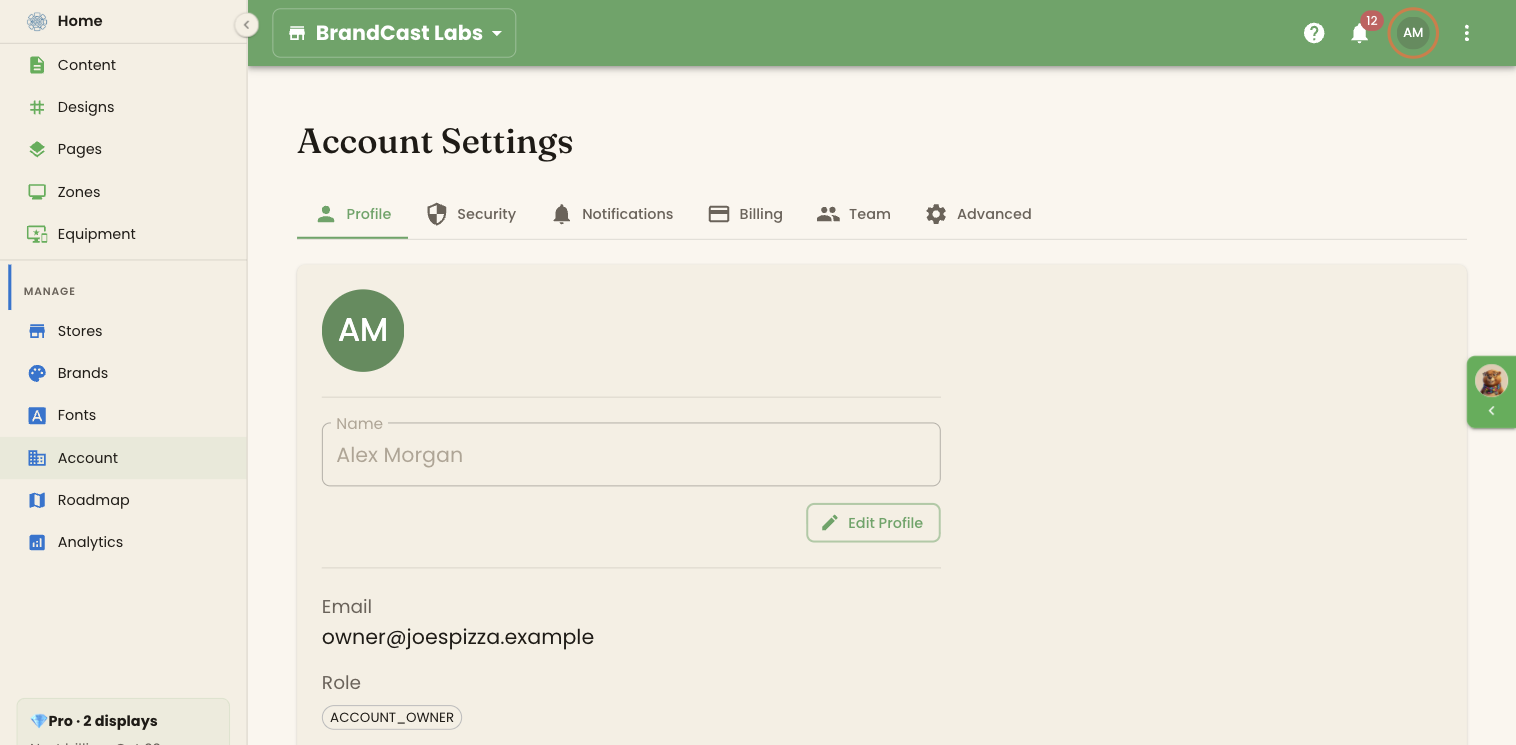
The tabs, from left to right:
| Tab | What’s there |
|---|---|
| Profile | Your name (click Edit Profile, then Save Changes), your email, role and account ID, and Communication Preferences for announcements and the newsletter |
| Security | Change Password, and Two-Factor Authentication |
| Notifications | The Email notifications switch |
| Billing | Your plan, payment method, storage, AI credits, discounts and invoices |
| Team | Inviting people and managing their roles |
| Advanced | Data & Privacy, and the Danger Zone for deleting your account |
You only see Billing and Team if your role allows it.
Secure your sign-in
Section titled “Secure your sign-in”On the Security tab:
- Change Password asks for your current password and a new one of at least 8 characters.
- Under Two-Factor Authentication, click Enable. Scan the QR code with an authenticator app, type the code it shows, and save your backup codes somewhere safe. From then on, signing in asks for a code from the app.
Choose your notifications
Section titled “Choose your notifications”The Notifications tab has one switch, Email notifications. Critical alerts, such as a billing problem or a full quota, always go to your account email whatever it’s set to.
Billing
Section titled “Billing”The Billing tab shows your Current Plan, how many displays you pay for, and your next billing date. Below that are cards for:
- Payment Method: click Manage Payments to add or change a card through Stripe
- Storage Usage: what you’ve used, and Purchase Storage for more
- AI Credits: your balance, what each AI action costs, and Buy Credits
- Active Discounts
- Billing History: your invoices, with Manage in Stripe
See Managing your subscription for each part of the tab, upgrading to Pro, and cancelling.
Add another store
Section titled “Add another store”Each store is a location with its own displays and content. Chip created your first one. To add another:
- Click Stores in the sidebar, then Add Store.
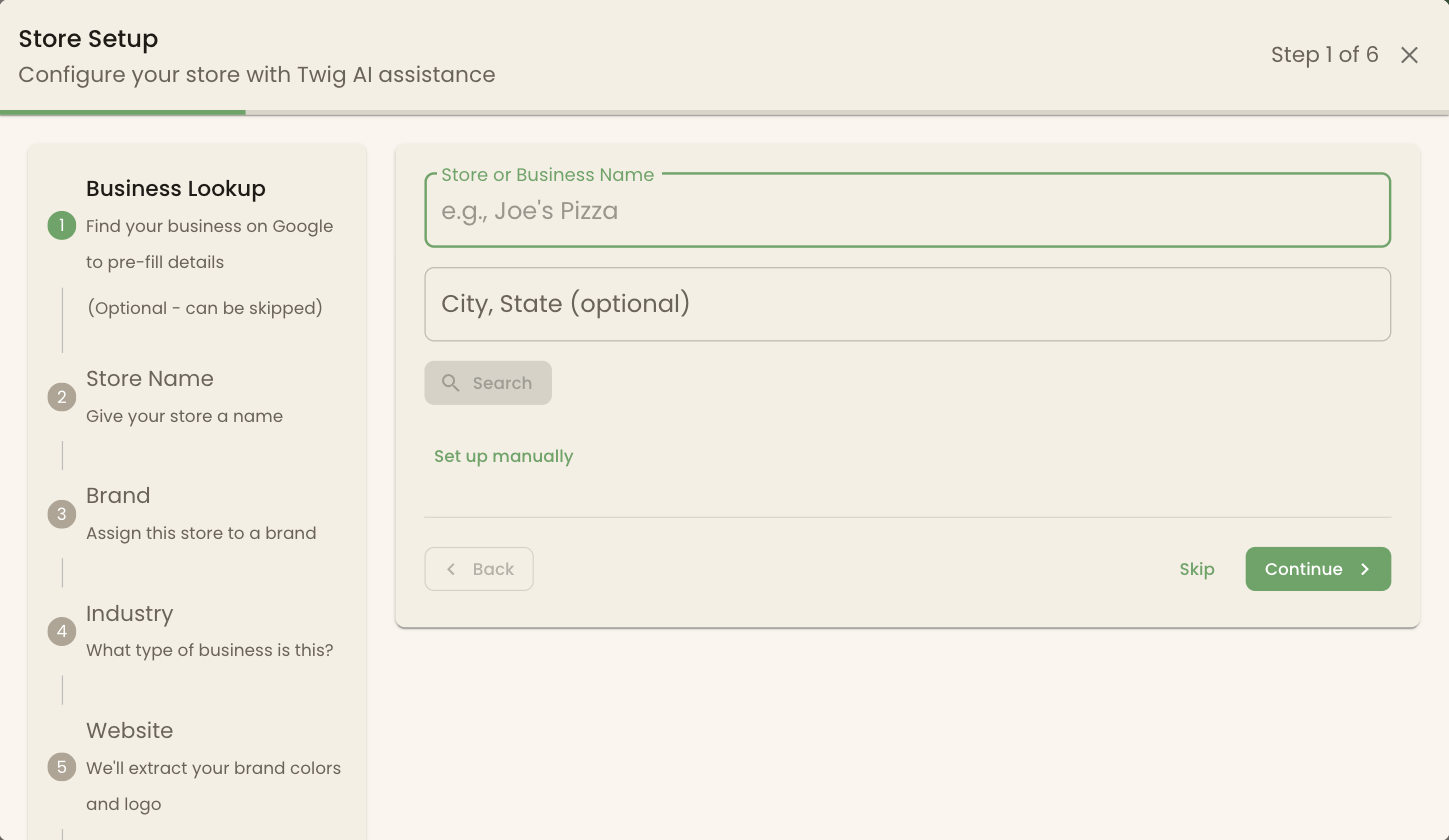
- The Store Setup wizard has six steps:
- Business Lookup: search Google to fill in your details (optional)
- Store Name
- Brand: which brand the store uses (optional)
- Industry: helps Twig suggest content
- Website: BrandCast reads your logo, colors and fonts from it (optional)
- Hours: your opening hours (optional)
The Free plan includes one location. A second store needs Pro.
To switch between stores, use the store selector at the top of the screen. Content, Pages and displays follow the store you pick.
Your brand kit
Section titled “Your brand kit”Your logo, colors and fonts are under Brands and Fonts in the sidebar. Chip fills in your first brand kit from your website. You can change it there at any time. See Brands and the brand kit and Fonts.
Connected accounts
Section titled “Connected accounts”Content that needs an outside account, such as a Google calendar, is connected while you add that content. See Your first content. To see or remove the accounts a store is connected to, open Stores, click the store, and look under Integrations > OAuth Services.
Getting help
Section titled “Getting help”- The ? at the top of every page opens help for that page. Need more help? Ask Twig at the bottom of the help panel hands your question to Twig.
- Twig is also on the tab at the right edge of the screen, or at the bottom right on a phone.
What’s next
Section titled “What’s next”- Quick start guide: get your first screen live
- Team management: invite people and set their roles
- Plans and pricing: what each plan includes